

Ordering by the words “control switch” can leave you comparing the wrong assemblies. Identify the control's function and physical location before choosing a replacement part. A SANY excavator control switch request might concern a panel softkey, a separate switch body, or an electronic controller; those descriptions need different evidence.
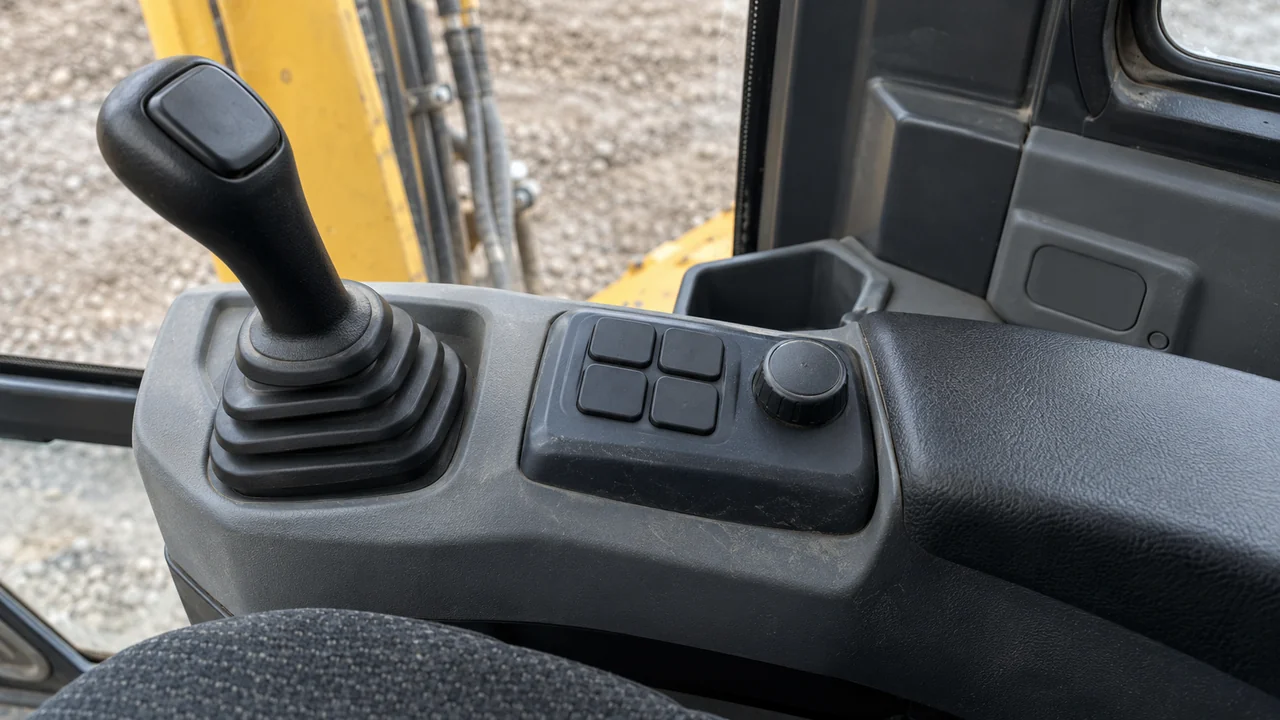
A keypad, dial and joystick share one console area.
This guide helps you turn that vague name into a parts-identification record. It does not identify a failed circuit or teach changes to operating patterns. The photographs show generic component views; use photographs of your own unit for the actual match.
Start with the function, then name the assembly
Write down what the operator calls the control, where it is, and the symbol or wording actually visible on your machine. Keep that description separate from what the technician has confirmed is faulty. A report such as “the light does not turn on” records a symptom; it does not identify the part to buy.
Use this routing table to decide what evidence is missing. The rows are identification prompts, not a catalogue of controls fitted to every excavator.
Swipe or scroll horizontally to view the full table.
What you are pointing at | Working description for the request | What must be confirmed |
|---|---|---|
A button in a shared keypad or beside the display | Panel key or softkey for the named function | Exact panel identity and whether that key has a separate service item |
A separate rocker, push button or key-operated body | Electrical switch, with its function and location | Old-part label, housing, connector and serial-specific part number |
| A rotary control on the armrest | Dial or rotary control, with its documented function | Assembly name in the correct parts information; do not assume a generic switch |
A box identified by a controller label | Electronic controller or control module | Complete label, connector views and confirmed assembly identity |
A request about which joystick movement operates which action | Operating-pattern identification request | Exact machine documentation and technician confirmation; do not choose a switch from a location found online |
If you have only a controller label, continue with how to find a SANY part number. Do not order a controller merely because the original request contained the word “control.” Equally, a button drawn in an operator guide is not proof that its cap, contact or keypad can be ordered separately.
What the official SY155U example establishes
SANY UK's SY155U Quick Start Guide separates its keypad and armrest controls. Its printed page 9 groups lighting, travel-speed and work-mode functions on the keypad, while marking some positions optional, unequipped or unused. Printed page 10 identifies the ignition, window-cleaning controls and engine-speed dial in the armrest section. Page 3 describes selection of working modes.
These are function names for the configuration covered by that guide. They do not establish a switch part number, a wiring arrangement or a common layout across SANY models. The guide's working-mode selection is also insufficient information to identify a joystick-pattern selector on your machine.
For procurement, record the guide title and page beside your own panel photo. If the document and your panel disagree, leave the assembly identity open until the correct serial-specific information is available. Do not interpret an unused position in a guide as evidence that a part is missing from your excavator.
Capture the switch front, housing and location
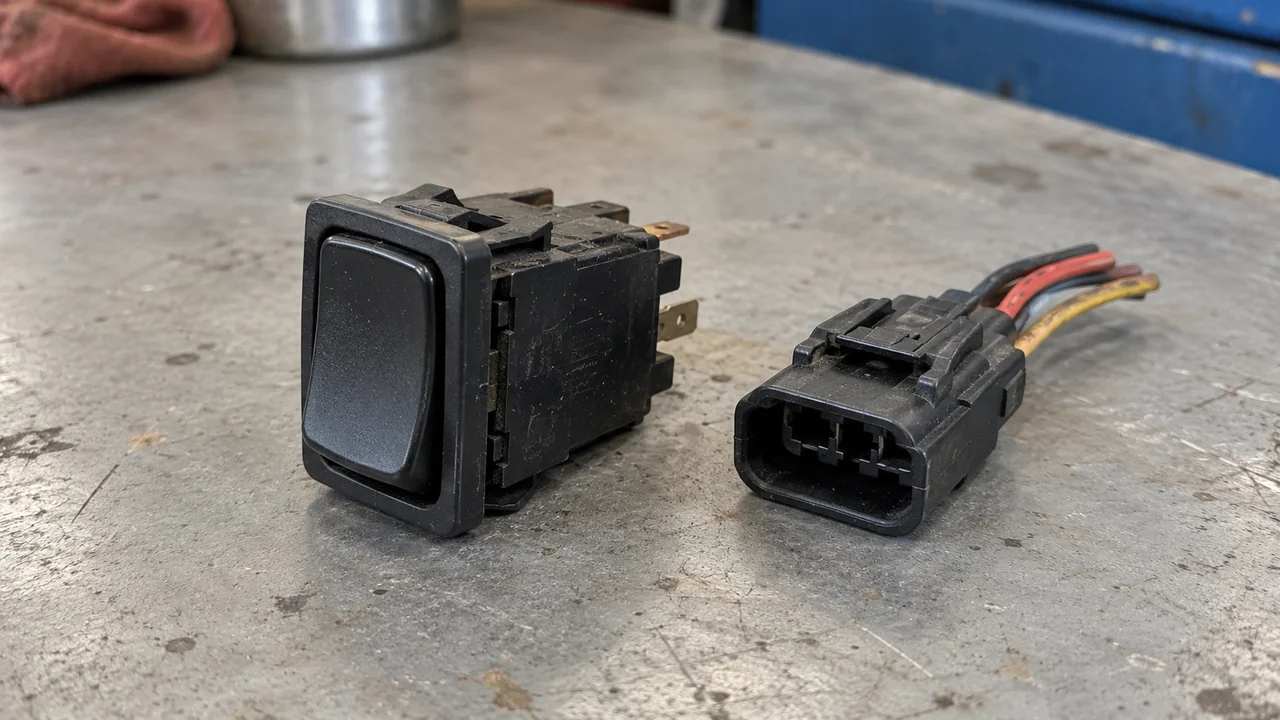
A loose rocker switch body and a separate wiring connector on a workbench.
Start with a wide photo that shows where the control sits, then take a square close-up of its front. Include the symbol, adjacent controls and mounting area in the evidence set. Record whether you are requesting the visible actuator, the complete switch, a keypad panel or another assembly.
Rear views should come from an already removed part or a technician working under the machine's service procedure. Do not dismantle a console or disconnect wiring just to complete this checklist. Leave inaccessible fields as “Unknown / verify on the unit.”
If a label is readable, copy the entire string, including suffixes and separators. Keep a moulded housing code separate from a label or service number until its meaning is confirmed. The part-photography guide explains how to pair label close-ups with wider views.
Confirm the rear connection and service boundary
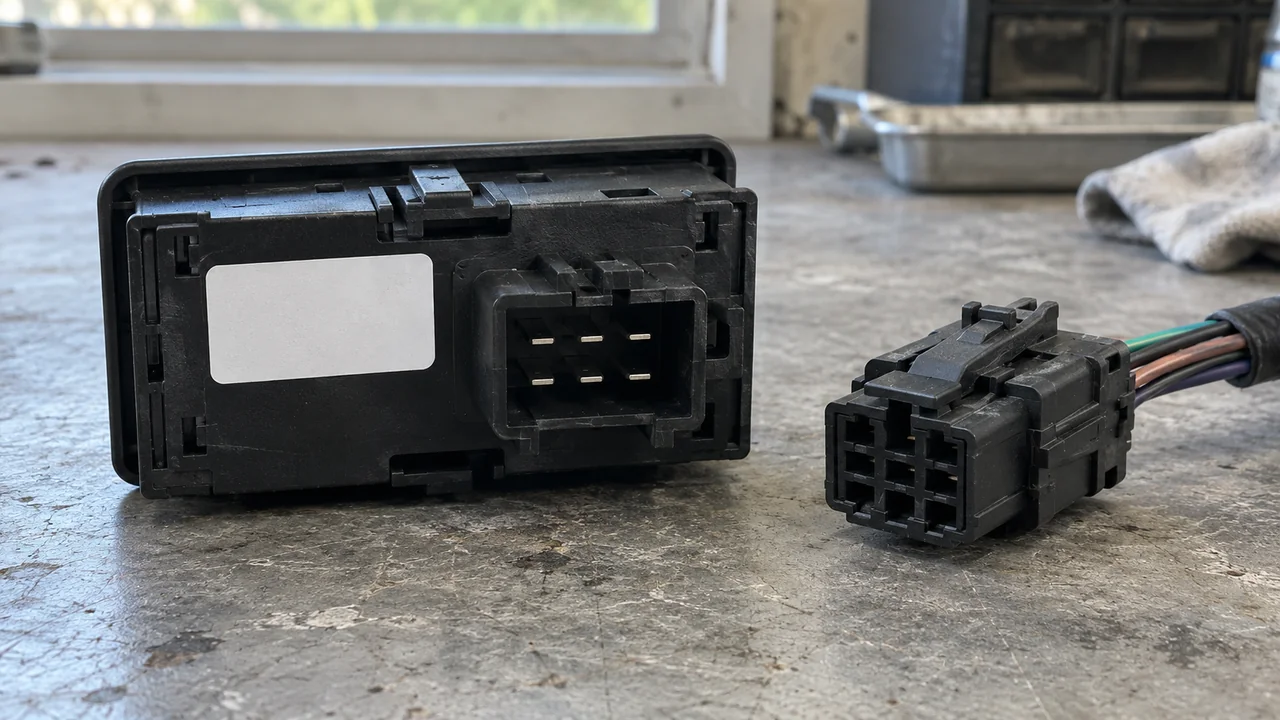
The rear housing, label area and loose connector are visible together.
When these views are safely available, photograph the connector face, latch, guide features and the way the connector meets the housing. Keep each plug with its matching view in your notes. Ask the technician to record mounting features and dimensions if they are needed to distinguish candidates.
A similar plug shape is a comparison clue. It does not confirm electrical compatibility. Leave supply voltage, contact arrangement, terminal assignment and required programming unconfirmed unless the exact unit's documentation establishes them. This page supplies no universal pinout or test values.
Before accepting an offer, have the supplier name the service item and what is included. If the request is for one softkey, ask whether the quotation covers an individual key, the keypad assembly or a larger panel. If the offered number replaces an older number, ask for that relationship to be stated against the machine identity. Treat a replacement as unconfirmed when the label, function, mounting or connector evidence disagrees.
Keep one identification record for the request
Copy this table into your maintenance notes. The empty answer cells are for observations from your unit and its records. Use “Unknown / verify on the unit” for anything you cannot establish; do not fill gaps from a similar-looking listing. No completed row is a pass/fail electrical test.
Swipe or scroll horizontally to view the full table.
| Field | Your unit or document | Evidence to attach |
|---|---|---|
| Full machine model and suffix | Whole nameplate photo | |
Machine serial / production number | Uncropped nameplate close-up | |
Function and location of the requested control | Wide panel view and front close-up | |
Manual title, version and relevant page | Page matching this machine | |
Old-part label and other markings | Separate readable label and housing-code photos | |
Rear connector and mounting features | Connector face, latch, guides and mounting views if safely available | |
Requested assembly and items included | Technician description and written supplier scope | |
| Separately serviceable? | Serial-specific parts reference or technician confirmation | |
Confirmed replacement number / supersession | Written identification tied to the machine serial |
Keep identification and diagnosis as separate records. If a technician has not confirmed which component failed, say so. An unresponsive function alone is not a reason to replace whichever switch or controller looks closest in a search result. For safety-related controls, stop at the identification record and have the responsible technician use the exact machine documentation; do not bridge contacts or bypass an interlock to identify a part.
What to send us
Begin with the machine model, serial and old-part label. Add the location and connector views when available so the requested assembly is clear.
Swipe or scroll horizontally to view the full table.
| Item | Why we need it | Example format |
|---|---|---|
| Full model and serial | Identify the machine for the compatibility check | Nameplate photo plus exact transcription |
| Old-part label or markings | Start the part-number identification | Clear label photo, or “no readable label” |
| Function and location | Distinguish a panel function from the assembly requested | Wide panel photo and front close-up |
Rear connector and assembly scope, if safely available | Compare the physical candidate and clarify what is requested | Connector views plus “switch body” or “complete panel”; otherwise unknown |
Send that evidence set through the button below for a parts inquiry. As described on our about page, we check compatibility against the serial and confirm the supply type in the quotation. A softkey's separate availability and the exact replacement number still need confirmation. This inquiry does not establish an electrical diagnosis, stock or a delivery date.
Method and sources
Updated October 2026. The model-specific function distinction comes from SANY UK's SY155U Quick Start Guide, printed pages 3, 9 and 10, retrieved on 15 October 2026. That guide identifies operator functions; it is not used here as a replacement-parts catalogue. The photo and record workflow is our procurement recommendation, supported by this site's published identification guides. No switch was inspected or tested for this article, and no machine-specific electrical rating or fitment is inferred from the photographs. SANY Parts is an independent supplier; official factory records should be obtained through SANY or the dealer for the machine's market.
Last reviewed: Oct 15, 2026